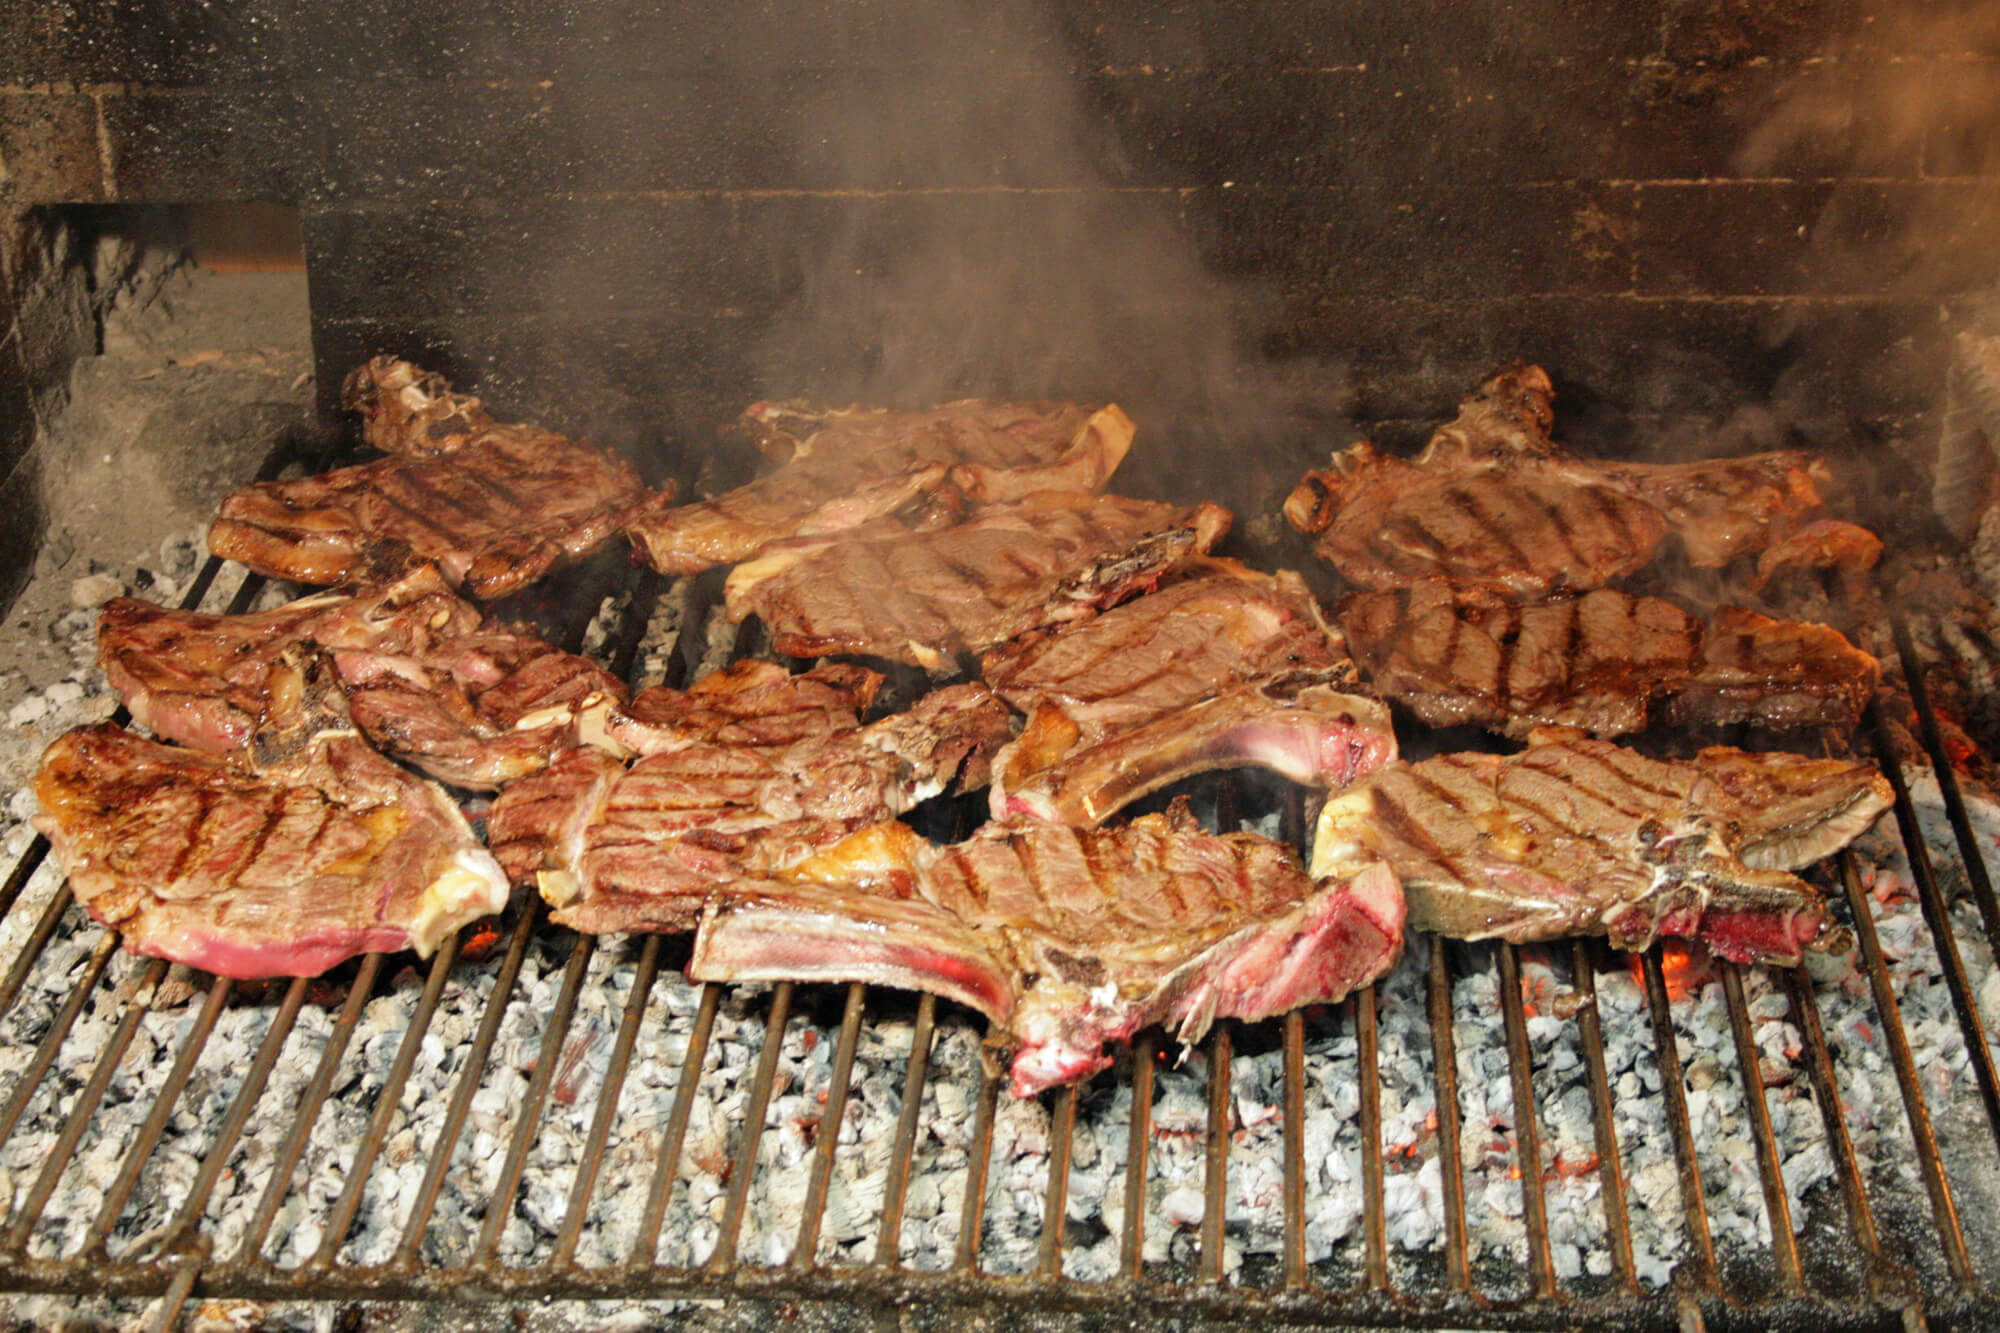
One of the greatest addition to your patio would be a brick barbecue. Easy to create and use, a barbecue of this kind implies you don’t need to find a huge area to store it. This guide will offer step by step instructions on how to make a barbecue from bricks so you can enjoy your summer parties.
Materials
- Cement
- Gravel
- Bricks
- Metal barbecue grates
- Mortar
Tools
- Hoe
- 4′ level
- Cold chisel
- Square
- Tape measure
- Trowel
- Stiff brush
- Wheelbarrow
- Straight edge
- Float
1. Siting the barbecue
First, you need to find a suitable location to build your barbecue. This is because, once it has been built, it will not be possible to move it around.
You want to build it close to your house so it can be easier to get everything you need. It’s actually bet to have it near a seating zone, so that the diners and cook can converse. However, you need to ensure that the heat from the barbecue will not make your guests uncomfortable.
You also need think about the path to your barbecue. If you’ll be walking across the same lawn throughout the summer, it may become thread bare. This will be the right time to place some stepping stones to the barbecue. Alternatively, you can excavate a path section that will be filled with shingle.
2. Building the base
Make sure your base is s sturdy as possible. If haven’t found a suitable location to build your summer barbecue, you’ll need to improvise by laying some slabs or constructing a concrete base. Your base should be level enough so it can take the weight of your barbecue without sinking or subsiding.
3. Lay the first course
Make a premixed mortar in accordance with the direction from the manufacturer. Place a layer of the mortar along the lines where you’ll place the bricks. Lay your first brick by pushing it slowly into the mortar. Do not forget to apply a layer of mortar on one side of your next brick before you can push it against the first brick. Repeat the process as you continue laying your bricks until the first layer of the base is complete. Remember to get rid of the excess mortar once the first layer is complete. Check whether you have a square course. Plumb, level, and adjust the bricks by tapping using the handle of your trowel
4. Lay your next courses
Lay the second and third course in the same way the first course was done. Beginning with the fourth course and any other course after that, turn some bricks so they jut out towards the barbecue. The jutting bricks will be the support ledges of the grill grate. Having a few of these protruding bricks at different heights provides extra cooking space and different heat intensities. Lay the brick until you attain your desired height. The final course of your barbecue should be laid using solid bricks.
5. Finish your barbecue
After the cement of the final course has cured, use a brush to remove the remaining bits of the mortar.
6. Maintain the brick barbecue
As you continue using your barbecue, there are chances that it would lose its shine. You may decide to renovate the metal work and the grill using a barbecue paint. Use the wire brush to clean the metalwork.
Sometimes, the heat from your barbecue will shrink your brickwork. The shrinkage may result in a few crack at different points of your barbecue. This should not cause any panics. You can fill the cracks with mortar and smoothen the surface to make it attractive.

